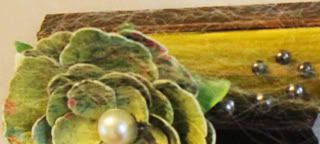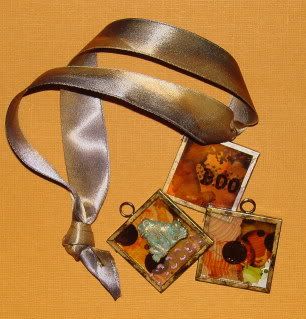
Here is my sneak peak...alcohol inks on glass and ribbons. These make great gifts!


 WAS a TIKI BAR GIRL AND ALWAYS WILL BE
Looks pretty!
Both of these look very intriguing. Not sure if I will make the class (depends on when it is), but will check out the thread if I do miss it.


I <3 alcohol inks!!
Looks interseting
Jules necklaces 1st-----
Part 1-
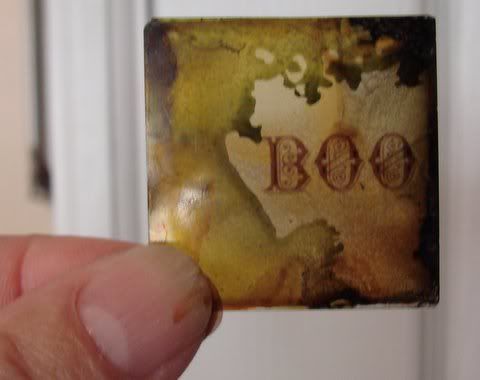
There are four ways you can attain the stained glass look for this
project. Experiement to find out which one you like the best. If a
glass does not turn out the way you want, wash it with water
immediately or use rubbing alcohol to remove, dry the glass and start
again.
1. Drop the ink from the dispenser to form circles. I allow ink to
collect in the nozzle of the little bottle and tap it to get the drops
to fall. Closer to the glass, the more compact the circles; the
further away you hold the bottle, the wider the circles and the more
apt they are to spread.
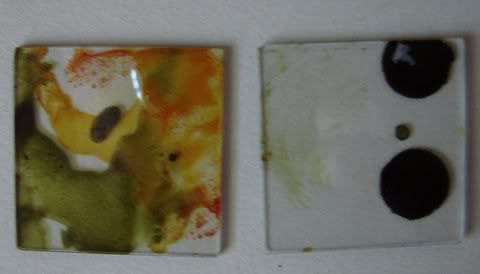
You can drop a different color on another piece of glass (the
necklaces/sun catchers require two each). Allow both to dry.
2. Drop the ink as before and turn the glass to allow it to run.
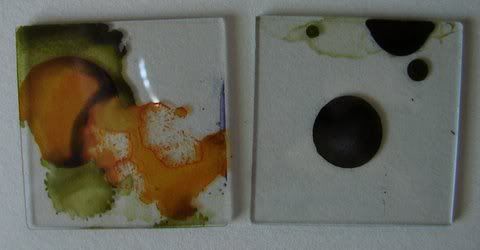
3. Drop the ink as before and allow it to run. Let this color dry
and then repeat with a second color, either dropped like in 1. or as
in 2. And you can also drop the second color before the first has
dried and one will 'bleed" into the other.
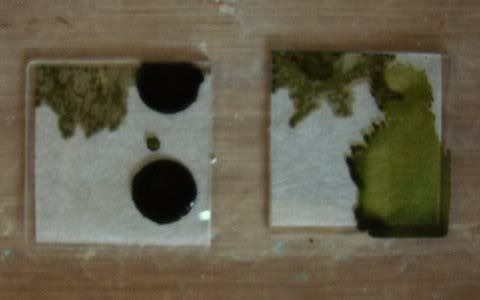
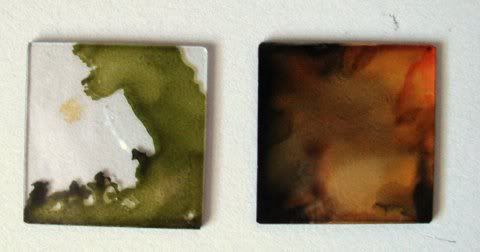
4. Drop one color onto the glass and, before it has dried, add the
second allowing it to "bleed" into the first. Using bubble wrap or a
wadded up textured towel, lightly dab the ink on the glass to create
texture. Be careful not to remove all the ink.
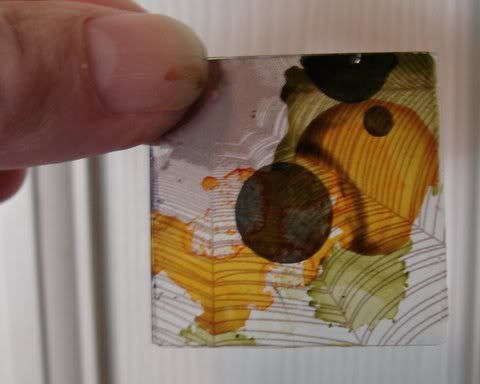
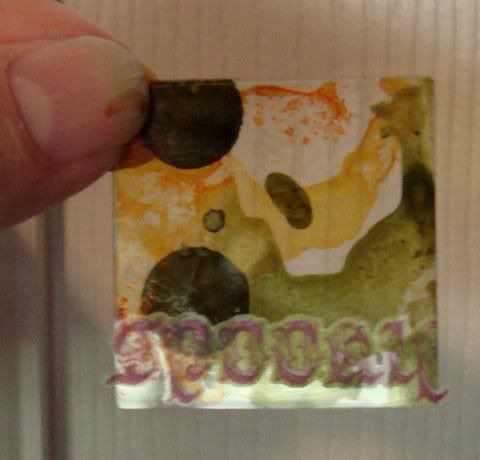
5. Over lap the pieces till you get the effect you desire. Add rub ons
to the bottom piece of glass. If you add them to the top piece, yourisk having them wear off.
Part 2--
You will need a black Sharpie pen or any other permanent black ink
marker, the blender and pad and the gold mixative . I added one of
the colors of alcohol inks that I used on the glass as well.
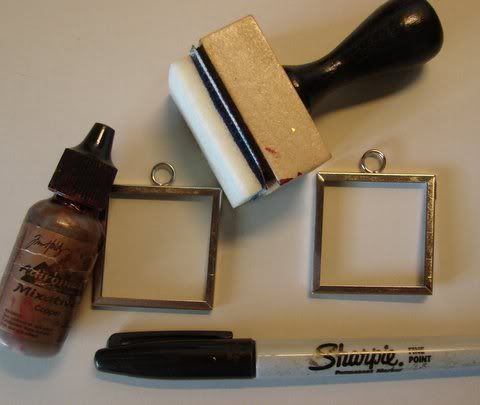
1. Dab various areas of the frame, bit by bit, with the Sharpie and
blend by patting with your finger or the blender and pad.
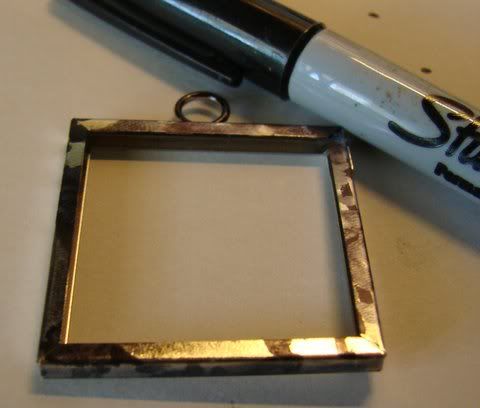
2. Add drops of the gold mixative around and on top of the black.
Use the blender tool and pad to tap lightly to blend. Repeat if
necessary.
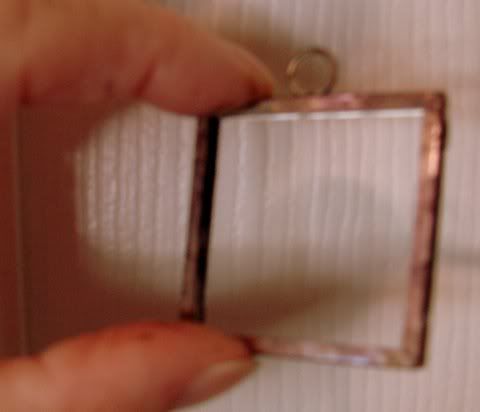
3. For more interest, you can add another of the colors you used on
the glass , repeating the steps above to blend.
4. When dry, follow the directions on the package for inserting the
glass pieces and closing the frame.
Part 3--
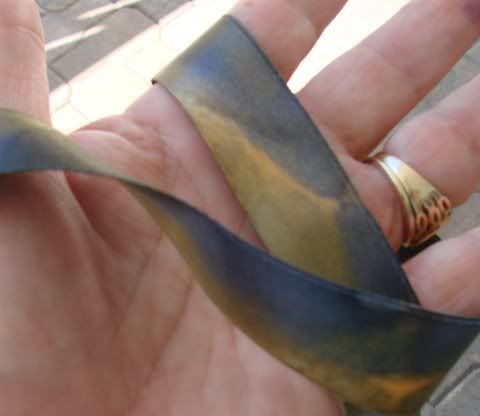
You will need some satiny ribbon in a cream or white , a paint brush
and a paper towel. I used Pesto, Oregano and Butterscotch Alcohol
Inks for this ribbon. The ribbon should be long enough to go around
your neck and tie or long enough to suspend the frame if you are going
to use it as a sun catcher.
1. Drop some of the ink on your craft mat or waxed paper. The ink
dries quickly so you may have to add more to the puddle you create.
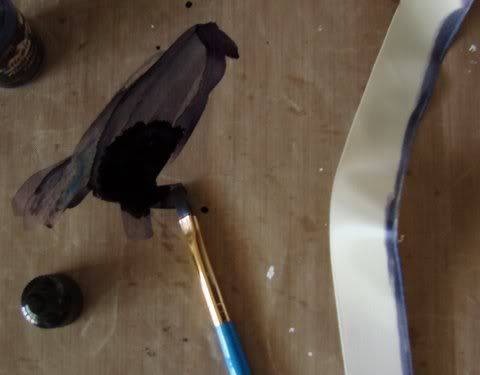
2. Dip the paint brush into the puddle of ink and drag it down the
side of the ribbon allowing the ink to spread to the middle. When
this dries, repeat with a second color on the other side of the
ribbon.
Alternative method: instead of using a paint brush, drag the tip of
the bottle down the side of the ribbon. You have less control over
the spread of the corlor but this method is faster and works great on
wider ribbon.
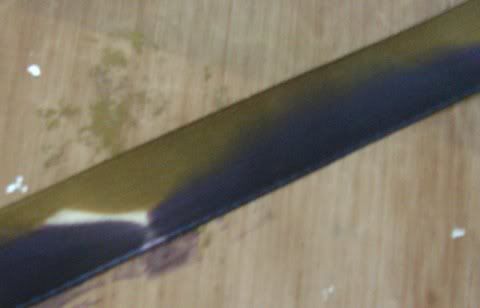
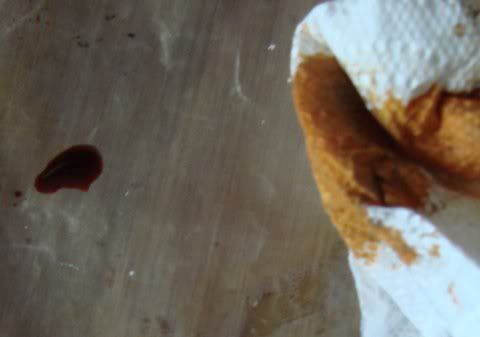
3. Create a puddle of alcohol ink on your craft mat or waxed paper.
With a crumpled up textured paper towel, dip into the puddle and pat
onto the ribbon . (I used the Butterscotch color here). You can also
drop circles of the color onto the ribbon for more interest. Using
the paper towel method creates texture and blends the colors for a
more tie dyed look.
4. Experiment with colors and types of satiny and sheer ribbons.
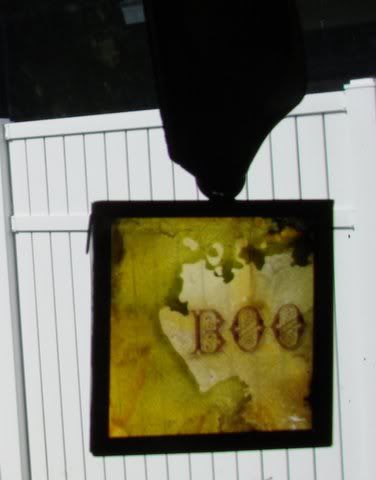
These completed framed glass can be used to make great gifts for
others or for yourself. They can be hung as is without a backing to
make delightful sun catches.
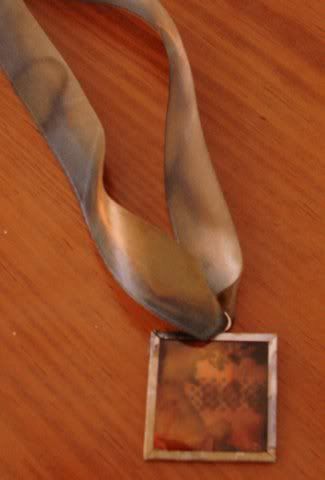
They can also be used with or without a backing to make darling
necklaces or if the hook at the top is removed and a back applied they
can be turned into pins.
Part 1-
There are four ways you can attain the stained glass look for this
project. Experiement to find out which one you like the best. If a
glass does not turn out the way you want, wash it with water
immediately or use rubbing alcohol to remove, dry the glass and start
again.
1. Drop the ink from the dispenser to form circles. I allow ink to
collect in the nozzle of the little bottle and tap it to get the drops
to fall. Closer to the glass, the more compact the circles; the
further away you hold the bottle, the wider the circles and the more
apt they are to spread.

You can drop a different color on another piece of glass (the
necklaces/sun catchers require two each). Allow both to dry.
2. Drop the ink as before and turn the glass to allow it to run.

3. Drop the ink as before and allow it to run. Let this color dry
and then repeat with a second color, either dropped like in 1. or as
in 2. And you can also drop the second color before the first has
dried and one will 'bleed" into the other.

4. Drop one color onto the glass and, before it has dried, add the
second allowing it to "bleed" into the first. Using bubble wrap or a
wadded up textured towel, lightly dab the ink on the glass to create
texture. Be careful not to remove all the ink.

5. Over lap the pieces till you get the effect you desire. Add rub ons
to the bottom piece of glass. If you add them to the top piece, yourisk having them wear off.


Part 2--
You will need a black Sharpie pen or any other permanent black ink
marker, the blender and pad and the gold mixative . I added one of
the colors of alcohol inks that I used on the glass as well.

1. Dab various areas of the frame, bit by bit, with the Sharpie and
blend by patting with your finger or the blender and pad.

2. Add drops of the gold mixative around and on top of the black.
Use the blender tool and pad to tap lightly to blend. Repeat if
necessary.

3. For more interest, you can add another of the colors you used on
the glass , repeating the steps above to blend.

4. When dry, follow the directions on the package for inserting the
glass pieces and closing the frame.
Part 3--
You will need some satiny ribbon in a cream or white , a paint brush
and a paper towel. I used Pesto, Oregano and Butterscotch Alcohol
Inks for this ribbon. The ribbon should be long enough to go around
your neck and tie or long enough to suspend the frame if you are going
to use it as a sun catcher.
1. Drop some of the ink on your craft mat or waxed paper. The ink
dries quickly so you may have to add more to the puddle you create.

2. Dip the paint brush into the puddle of ink and drag it down the
side of the ribbon allowing the ink to spread to the middle. When
this dries, repeat with a second color on the other side of the
ribbon.
Alternative method: instead of using a paint brush, drag the tip of
the bottle down the side of the ribbon. You have less control over
the spread of the corlor but this method is faster and works great on
wider ribbon.

3. Create a puddle of alcohol ink on your craft mat or waxed paper.
With a crumpled up textured paper towel, dip into the puddle and pat
onto the ribbon . (I used the Butterscotch color here). You can also
drop circles of the color onto the ribbon for more interest. Using
the paper towel method creates texture and blends the colors for a
more tie dyed look.

4. Experiment with colors and types of satiny and sheer ribbons.

These completed framed glass can be used to make great gifts for
others or for yourself. They can be hung as is without a backing to
make delightful sun catches.

They can also be used with or without a backing to make darling
necklaces or if the hook at the top is removed and a back applied they
can be turned into pins.

Last edited by milmomma on Sat Oct 15, 2011 7:36 pm, edited 4 times in total.
Britts Frame part--
Part 1-
Step 1
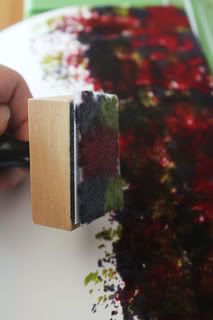
We will start with the white card stock, the felt brush stamper and the 3 inks. I suggest you using an extra sheet underneath, or a splat mat. I dripped the inks on one pad that was attached to the stamper. I tried to mix it up some but still leave it kinda blotchy looking. I placed it straight down on the paper and pushed a bit. Not like a punch but a decent stamp push. I lift it straight back up. And repeated this until it wasn’t leaving any ink. I didn’t stamp in any real pattern, I just tried not to stamp where I had. When it was leaving no more color I re inked my stamper using the same colors in the same spots. I did this in a line down the long side of the paper. I covered around 2.5 inches inward. (I estimated) I went over it a bit to make sure there wasn’t a lot of white showing through. It almost has a tie dyed effect.
Step 2
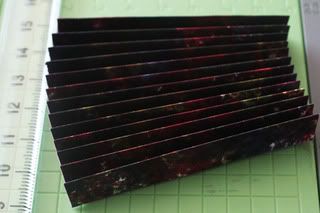
I then trimmed off the 2 inch strip of paper with my paper trimmer. From there I folded it like an according with approx ¼ inch folds.
Part 2-
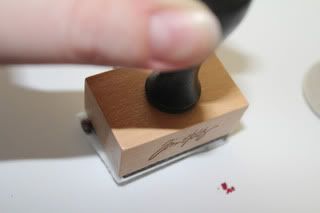
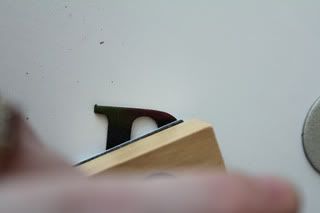
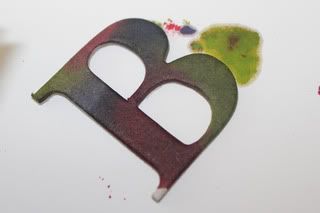
Next we will ink the chipboard letters. I choose BOO to use for a Halloween theme. I started by re inking my same stamper in the same pattern I had done. I used the same straight up and down stamping. I covered the letters. After they were completely covered I set them aside to dry.
Part 3-
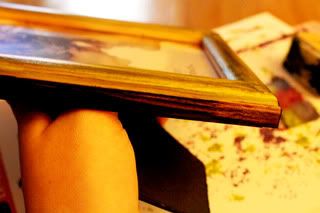
We are gonna ink the frame lastly. I started by taking my sanding block and lightly scraping it up to make the ink stick better. I think got a fresh new felt pad and stuck to the stamper. I covered this one in my lightest color. (For me this was green) I used this and ran it across the frame as if I were inking the side of some paper. Lightly at first and adding more pressure and sliding as I went. After I went around the whole front of the frame I took off the felt pad. I replaced it with a new one and a darker color. With the darker ink stamper I only went around the outside edge highlighting it up a bit. I then set this aside and let it dry for a few minutes.
(Sorry about the dark photo!)
Step 5(putting it together)
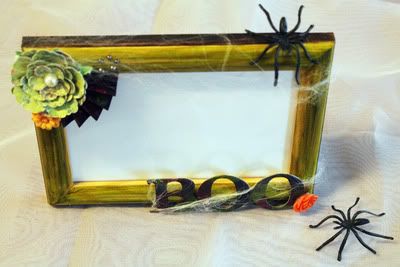
Take your accordion paper and trim it down. How much will depend on how tight you want your partial pinwheel shape. I didn’t want mine too tight. I also cut it in the width, this will be on preference. You will need to grab one side and squeeze and spread the other to make the shape and test it with your frame. Once you have it to size, I used glue dots to put it in place on top of my glass. I then put my letters on the opposite side for balance. I used glue dots for these as well. Lastly I decorated it some more with pearls and flowers. With a touch of some spider webs it was ready for a photo!
Part 1-
Step 1
We will start with the white card stock, the felt brush stamper and the 3 inks. I suggest you using an extra sheet underneath, or a splat mat. I dripped the inks on one pad that was attached to the stamper. I tried to mix it up some but still leave it kinda blotchy looking. I placed it straight down on the paper and pushed a bit. Not like a punch but a decent stamp push. I lift it straight back up. And repeated this until it wasn’t leaving any ink. I didn’t stamp in any real pattern, I just tried not to stamp where I had. When it was leaving no more color I re inked my stamper using the same colors in the same spots. I did this in a line down the long side of the paper. I covered around 2.5 inches inward. (I estimated) I went over it a bit to make sure there wasn’t a lot of white showing through. It almost has a tie dyed effect.

Step 2
I then trimmed off the 2 inch strip of paper with my paper trimmer. From there I folded it like an according with approx ¼ inch folds.

Part 2-
Next we will ink the chipboard letters. I choose BOO to use for a Halloween theme. I started by re inking my same stamper in the same pattern I had done. I used the same straight up and down stamping. I covered the letters. After they were completely covered I set them aside to dry.


Part 3-
We are gonna ink the frame lastly. I started by taking my sanding block and lightly scraping it up to make the ink stick better. I think got a fresh new felt pad and stuck to the stamper. I covered this one in my lightest color. (For me this was green) I used this and ran it across the frame as if I were inking the side of some paper. Lightly at first and adding more pressure and sliding as I went. After I went around the whole front of the frame I took off the felt pad. I replaced it with a new one and a darker color. With the darker ink stamper I only went around the outside edge highlighting it up a bit. I then set this aside and let it dry for a few minutes.
(Sorry about the dark photo!)

Step 5(putting it together)
Take your accordion paper and trim it down. How much will depend on how tight you want your partial pinwheel shape. I didn’t want mine too tight. I also cut it in the width, this will be on preference. You will need to grab one side and squeeze and spread the other to make the shape and test it with your frame. Once you have it to size, I used glue dots to put it in place on top of my glass. I then put my letters on the opposite side for balance. I used glue dots for these as well. Lastly I decorated it some more with pearls and flowers. With a touch of some spider webs it was ready for a photo!

I've got those blasted red x's where the pics are supposed to be! Help?
Debbie
your first post Jules necklace -all the pics are red xs for me too
Last edited by 3 Pals on Sat Oct 15, 2011 7:26 pm, edited 1 time in total.


Ann
OK, think I understand the frame so I'm gonna do that one first.
Debbie
Information
Moderators

