
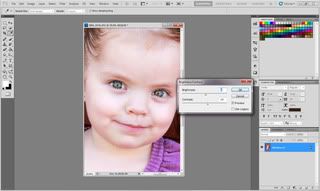
Open Photoshop and open your photo into Photoshop.
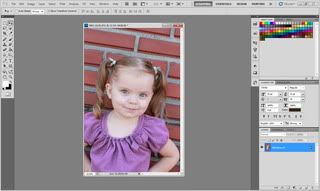
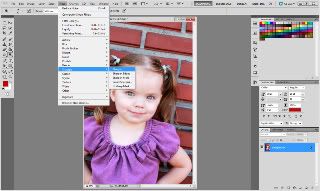
First thing I do is go to the top where it says image, click, and go down to adjust and over to levels.
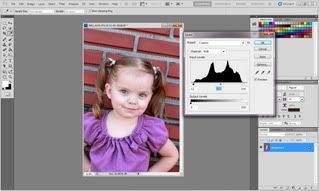
A little window should pop up showing you the current settings.
I drag the right arrow till it meets the mountains and the left arrow to do the same. Now depending on how dark or light your original photo was is which way you should drag the middle arrow. Slide it gently to each side and see which way you like. Click okay.
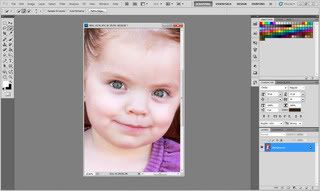
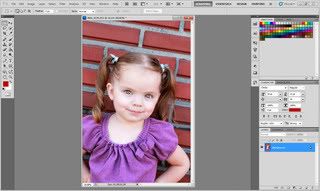
Next we will go back to image at the top bar, adjust and over to brightness/contrast. Once that windows opens we will lighten the brightness a tad. It is easy to go over so the littler the number the better. This helps brighten the eyes. I also drag up the contrast. I try to do it about double what I did the brightness as to not over do this as well. I do love contrast though.

Next take the magic wand tool and select only the eyes. At the top left you can chose the brush size if you need it smaller. Hold down the Alt button (on a pc) if you’ve selected too much to go back and deselect some.
With those selected click back up on image, adjust, brightness/contrast in the top bar again. To really pop the eyes, brighten them a tad more and add more contrast. Then click select in the top bar and chose deselect.
<a href="http://photobucket.com" target="_blank"><img src="http://i42.photobucket.com/albums/e340/ ... /step5.jpg" border="0" alt="Photobucket"></a>
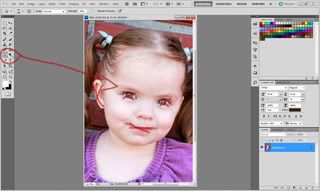
Now on your tool bar on the left. Find the Blur tool. At the top bar drop the strength down to about 20 %. Now run your brush over the face but not the eyes or mouth. Just click and hold as you smooth over the face.
Last but not least to get all the details we’ve done crisp I run the sharpen filter over it all. At the top bar, click Filter, scroll down to sharpen. Then under Edit in the top bar I chose Fade sharpen. I lower the opacity to 50%. If you can’t do this last step no worries.
At this point we have a finished picture!
I’ve went ahead and sepia toned my picture. You can do this by clicking Image, adjust, Black and white. A window will pop up and at the bottom it lets you click on the little box to add the brown tone to the black and white. Remember to click okay to set it!
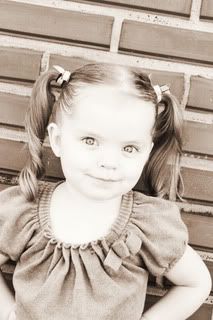
Don’t forget to size them and print them!
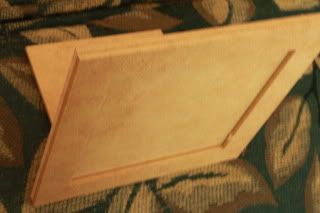
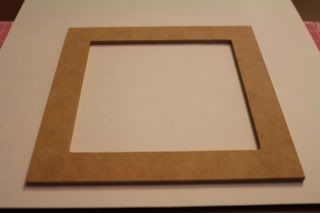
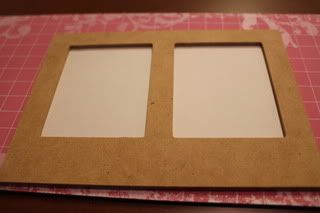
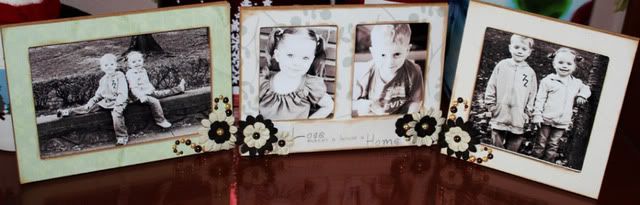
Next our hybrid frames. First you must disassemble the pieces like so.
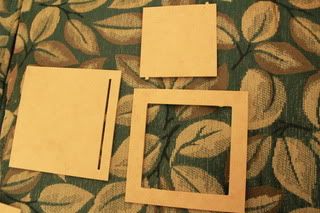
I went ahead and added in the small middle pieces to the slits in the back of the frames to make them stand up like so.
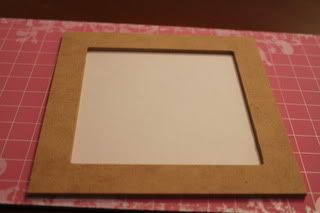
I then added adhesive to the front of the frame and stuck it straight to the paper.
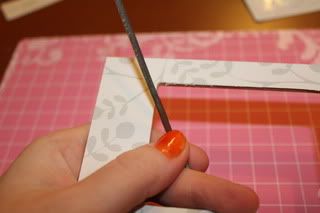
Using my exacto knife I cut in close around the outside, then inside.
Then used my KC sanding tool kit to sand all the edges of the frames.
I inked them and set them aside and started on the next frame piece.
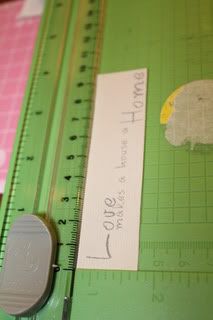
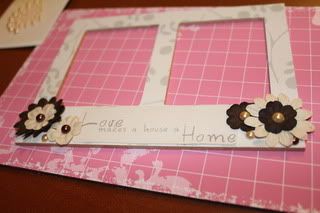
After all were covered. I trimmed down my word art and inked it as well and glued them on. I surrounded the saying by flowers and pearls.

I then mimicked the flowers and pearls on the other two frames. I used the pearls going from big to small making small flourishes from the flowers.
I then used my atg to adhear the front of the frames to the back leaving the top open to slip the pictures in.
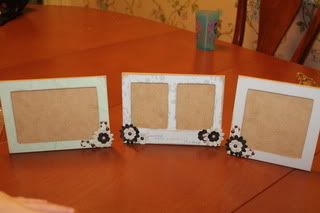
Then I added in the pictures to finish it up.


